
Trunk Treasure
- Oct 6, 2022
- 3 min read
It's a good day when friend texts a photo to you saying "I'm at a garage sale, do you want this?" A lot of my friends are treasure hunters, just like me. They know I will take the ugliest piece they can find as long as I think I can make it pretty again. So of course, I said "yes, I will take it!"

It was a smaller version of a grass-cloth covered trunk I had done earlier this year. You can see that project by clicking here.
I began the makeover by removing the lid.

Tip: I use these plastic crayon containers to corral all the hardware when I tear a piece apart. It keeps them all together and when I have muliple projects going on, it helps to know what hardware goes with each project.

I removed all the trim from base of the cabinet. It was very brittle and just snapped off. I didn't intend to reuse it, but it would have been difficult to save it if I had wanted to.

Removing the grass-cloth is fairly easy. It comes right off with a scraper. It is messy because the grass-cloth is disintegrating and there are bits and pieces all over the place. As messy as that it, removing the glue is messier!


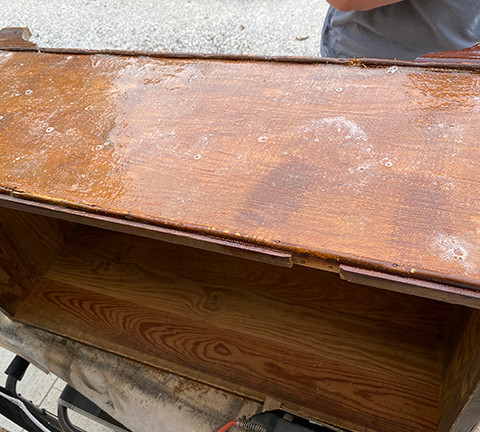
I used wallpaper remover gel to remove the glue. Spray a liberal coat on the surface and allow it to remain for about 15 minutes.

Then use a scraper to strip the glue.
Once it was all scraped off, I used soap and water to scrub the bench to remove the stickiness.

After it dried, I sanded all the sides until it was smooth. I finished it with a coat of Varathane Crystal Clear Satin Polyurethane.

I painted the legs with Folk Art chalk paint in the Sheepskin color. I distressed the legs and coated it with polyurethane.

There was no way I was going to try to strip the lid. Someone had decopauged various images on the lid at some point in time.

I cut a piece of foam to the exact size of the lid. I cut a piece of cotton batting and the upholstery fabric a few inches larger than the lid allowing enough to fold around the sides of the lid.

I pulled the fabric around the bench and stapled it on each side in the middle.

Once I made sure the fabric was straight, I continued stapling the fabric, rotating the lid and working my way out to the corners. That will ensure the fabric is taut.

The upholstery turned out well, but I wanted to add some tufting.

I covered four buttons with the same fabric and added them to the lid.

It was almost finished. I grabbed the plastic container with the hardware and reattached the lid to the base of the trunk.

I painted the handles with the Folk Art chalk paint in the Sheepskin color as well and then distressed them, added a coat of poly and reattached them to the trunk.

And then it was finished!

I love how this one turned out. I love the colors on the fabric. It's neutral while still adding a fun pop of color. Now its ready to hold someone's treasures.
If you like my blog, please follow me on Facebook, Instagram, and Pinterest! Just click on any of the social media links above! Thanks for following me on the junking journey!
Below is an image to pin to Pinterest if you would like to save this idea!


Comments