
Game(table) Changer
- Oct 6, 2022
- 3 min read
When I am at an estate auction, there is usually nice furniture, average furniture and then there is the furniture that typically would be set on the curb. Guess which pieces I am drawn to? Hah! Of course it is the furniture that is a little banged up, a little worse for wear and has definitely seen better days. The good thing is, those pieces usually don't go for a ton of money...maybe that's why I like them!
That was the case with this table. It was beaten up, the top had a variety of messages scratched into the finish and it just wasn't very pretty.

But the price was right so it wound up coming home with me.

The tabletop is on a lazy susan, so it rotates. It still worked smoothly. I thought it would make a great game table.

My God-daughter helps out with projects often. She tackled this one. She removed the top. It was actually a little tricky because she had to rotate it to line up the screw holes and then remove the screws. The gap between the table top and the underside was a couple inches so using a magnetic screwdriver really helped to lift out the screw.

We were discussing the color and finishes we were going to use on this table—my vote was to paint the entire table. My God-daughter wanted to see if she could make the wood look pretty again. I told her to have at it! She hand-sanded this. I won't let her use the electric sander inside the shop. It creates too much dust and gets on everything. And it cold and snowy outside, so she hand sanded it.

And she got the top of the table to look like this. Beautiful!

We cut a checkerboard stencil with my Silhouette Cameo 3 and applied it to the wood. The original plan was to stain the checkerboard with a dark walnut stain and then clearcoat the entire board—effectively having a light and dark stain effect. Let me just say you need to be flexible when you are working with these projects. You never really know how any piece will take paint or stain. This particular piece soaked up the stain and bled under the stencil. I don't have a photo because once we peeled up the stencil and saw how badly it bled, we were desperately covering the entire piece with the walnut stain just to salvage the piece. Fortunately, the overall stain looked beautiful. We cut another stencil and ended up using a bronze colored paint for the checkerboard.

And it turned out gorgeous! Not what we had originally planned, but I think it turned out even better. We used Varathane Crystal Clear Satin to seal the top of the table.

We painted the base of the table with Waverly Chalk Paint in the Cashew color.

We distressed the table and gave it a coat of the polyurethane. We reattached the table top which was a challenge as well. Getting those screws lined up and through multiple holes was a little frustrating. But we finished it.

This table that was once ready to be placed curbside is now a really cute game table. It is the perfect size for two chairs.

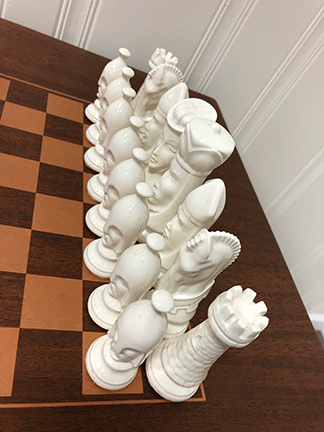

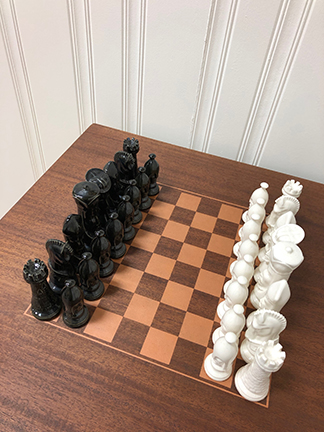
You could play a little chess.

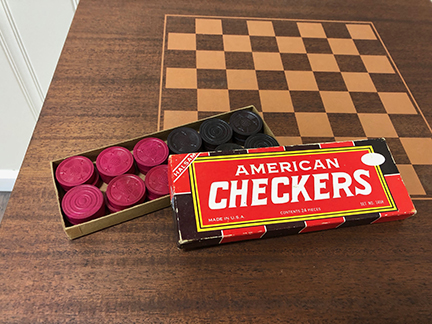

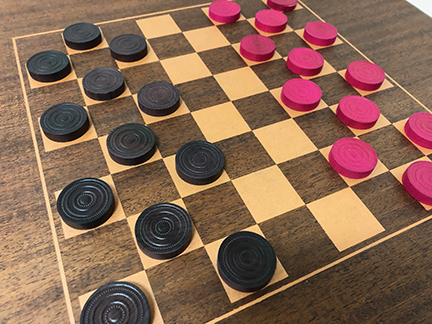
But checkers is more my speed...you could also bust out a board game or do a small puzzle on this table, particularly because it rotates!

This piece is currently at The Standard in Bourbon, IN if you are interested—it is for sale! The chess pieces sold right away, but as of today, the table and checkers are still there.
Thank you for reading my blog! If you would like to see more, follow me on Facebook, Instagram,and Pinterest! Just click on any of the social media links above! Thanks for following me on the junking adventures!
Below are some links to products I used in this project. Disclaimer: Junk is My Life is a participant in the Amazon Services LLC Associates Program, an affiliate advertising program designed to provide a means for sites to earn advertising fees by advertising and linking to Amazon.com.
Below is an image to pin to Pinterest if you would like to save this idea!


Comments