
Tale of a Three Legged Table
- Oct 6, 2022
- 3 min read
Soooo.....did I ever tell you about the three legged table I bought? To be fair, I didn't know it only had three legs when I bought it. I was at an auction and this table was against a wall at the back. I hadn't looked at it because I was interested in another piece of furniture (I can only haul so much furniture in my SUV). Well, I didn't get the piece I had my eye on and then this came up and they only had a $3 bid on it. I raised my hand and no one else bid against me and I got it. Frankly, I was shocked. It was a cute table. Then I went to move it to place it near the other things I bought. And that's when I discovered why it was such a good deal. One of the legs was broken—and the broken piece wasn't there. Crap. It wouldn't stand up at all. I dragged it to my workshop and tripped over it again and again for months. I wasn't sure exactly what to do with it. After I tripped over it for the millionth time, I grabbled the saw and cut off the other three legs at the same point as the broken one. So my "before" photo is really "after" I cut off the remaining legs.


This is the broken leg. I trimmed the portion just below the flared area. It was the same location I had trimmed the other three legs. The wobble was gone.

I thought maybe it would work as a coffee table, but it was too short. After letting it set for a couple more months, I decided to make it a foot stool. I removed the table top and saved it. I will use it on another project.


I cleaned the wood. I didn't want to paint it, the patina is beautiful on this piece. It was scratched in a few places though. I used Restor-A-Finish on the wood and I think it did a beautiful job with covering up the scratches.

I cut a piece of 1/4" plywood to fit the top of the table.

I knew I wanted to use a covered button to tuft the footstool so I drilled two small holes near the middle of the board.

This is the drawer that was in the table. I really liked the headboard in the bottom of the drawer. I used that as inspiration for the fabric.

I used this taupe and cream striped canvas. I added foam and batting and tacked the fabric in the center on each side, stretching the fabric taut. I positioned the fabric so one of the taupe stripes was in the center.

I began pulling and stapling from each edge in the center out to the corners, constantly turning it over to ensure the lines were straight.


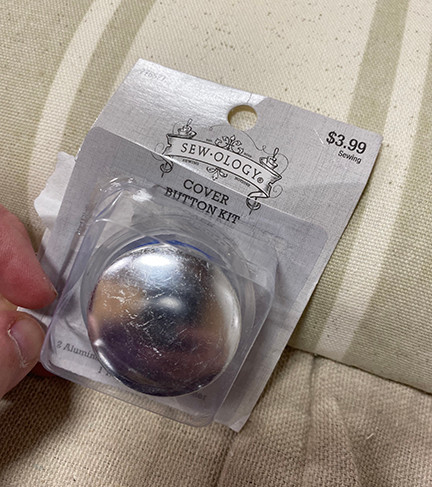

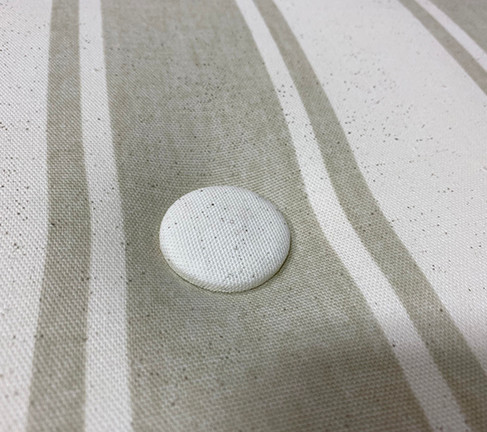
I used a button kit with the cream portion of the fabric to add a tufted button to the upholstered seat. I really liked the contrast.

I attached the upholstered top to the base using the same screw holes that held on the tabletop.

So the tale of the three legged table ends with the start of a new life as a footstool. I put it in my booth at Pipe Creek Mercantile in Peru, IN. It didn't last a week. So not only am I no longer tripping on it in my workspace, it isn't taking up space in my booth either. Win, win.
Thank you for reading my blog! If you would like to see more, follow me on Facebook, Instagram,and Pinterest! Just click on any of the social media links above! Thanks for following me on the junking adventures!
Below are some links to products I used in this project. Disclaimer: Junk is My Life is a participant in the Amazon Services LLC Associates Program, an affiliate advertising program designed to provide a means for sites to earn advertising fees by advertising and linking to Amazon.com.

Below is an image to pin to Pinterest if you would like to save this idea!


Comments