Upcycling a $2 Yard Sale Find
- Robin Brown
- Sep 27, 2023
- 4 min read
Rolling into fall brings so many fun things; brightly colored leaves, crisp air, pumpkins, hot cocoa, and fall festivals. But, sadly, it also means the end of garage sale season. It won't be long until those hard-to-read signs pointing you in some vague direction leading to unknown treasure will be gone for the year. Fortunately, I still have some 2023 yard sale finds to upcycle. I found this bench holding a pile of suitcases (newer ones—not the amazing old ones!).

Before I dug it out, I waved the owner over to ask if it was for sale. She was a sweet lady that she was just using it to hold the suitcases. She said it wasn't for sale because it didn't have a seat on it. She then unloaded the suitcases to show me that it did, in fact, not have a seat. I told her that was okay with me and if she wanted to sell it, I would be interested in buying it. She told me again that she didn't have the seat. I asked, "how much without the seat?" She said $2. SOLD. She actually said she was going to throw it away after the sale. She gladly took my $2. It's true what they say, someone's trash is someone else's treasure! On that day, it was my treasure!
Y'all know I am not dissuaded by a lack of a seat. That is such an easy fix!
in my workshop, I gathered the items needed for this project.
Paint—I chose Rustoleum Milk Paint in the Eclipse color for this project
Polyurethane—I used Varathane Crystal Clear Poly in the Satin finish for this project.
Foam Brush (for poly application)
Plywood—I used some scrap plywood I had on hand but you can pick it up at any local home improvement store.
I have a variety of drop cloths. I use one to spray paint, I have one that I brush paint (and assorted other things) and I have one that I keep really clean that I used when I am upholstering something. I grabbed the one for brush paint and placed it on my work surface.

I used ZEP cleaner and a rag to wipe down the entire piece. This just really helps to get old dust and crud off of the piece.

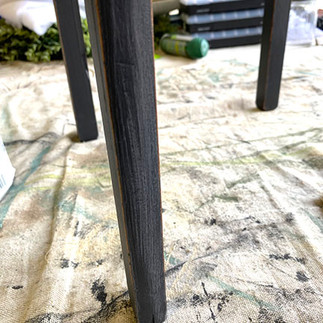
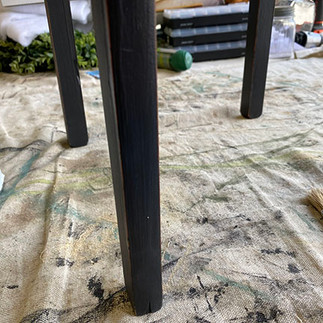
I painted the base with two coats of the Rustoleum Milk Paint in the Eclipse color.

I used 80 grit sandpaper to heavily distress the base.
When I was finished sanding, I wiped down the entire piece again to remove the dust from sanding. Then I sealed the piece with Varathane Crystal Clear Polyurethane in the Satin finish. Once that was dry, I measured the top of the base to cut a piece of plywood.

I had some plywood left over from other projects so I grabbed a piece of 1/2" plywood and cut it to the size of the top with my saw.

Before I began upholstering the plywood, I ensured it fit on the base (because sometimes I make mistakes!).

I intentionally left about 1/4" between the edge of the plywood and the edge of the base so the upholstery would naturally fill in that space. The corners on this piece extend out a bit and will show after the piece is upholstered. That's why I always paint the top of the base.

I had a scrap of this fabric left over from a few previous projects. There was just enough to upholster the this piece. I trimmed the right edge. I don't like a lot of extra fabric when I am upholstering a piece.
Here are some of the other projects in which I have used this fabric:

I layered the fabric, foam and cotton batting and began upholstering. Begin by placing a staple on each side of the board, pulling the fabric taut.

At this point I usually flip it over and ensure the design of the fabric is working for the piece. This particular fabric didn't require specific alignment so I thought it looked good. I continued stapling the fabric out to the corners. I place three or four staples in each side continually working my way out to the corners. This keeps the fabric aligned and pulled taut.

This is the plywood with the fabric upholstered on it.

I gathered four 1 1/2" screws and attached the upholstered seat to the base. I always check after each screw to ensure the seat is aligned well on the base.

A little paint and scrap fabric made a huge difference for this $2 bench. Even if I had to buy fabric, it can be found for under $10 a yard and this used less than half a yard. Save something from a landfill. You can do it. I know you can!
Thank you for reading my blog! If you would like to see more, follow me on Facebook, Instagram,and Pinterest! Just click on any of the social media links above! Thanks for following me on the junking adventures!
Below are some links to products I used in this project. Disclaimer: Junk is My Life is a participant in the Amazon Services LLC Associates Program, an affiliate advertising program designed to provide a means for sites to earn advertising fees by advertising and linking to Amazon.com.
Below is an image to pin to Pinterest if you would like to save this idea!


Comments